Case Study #6

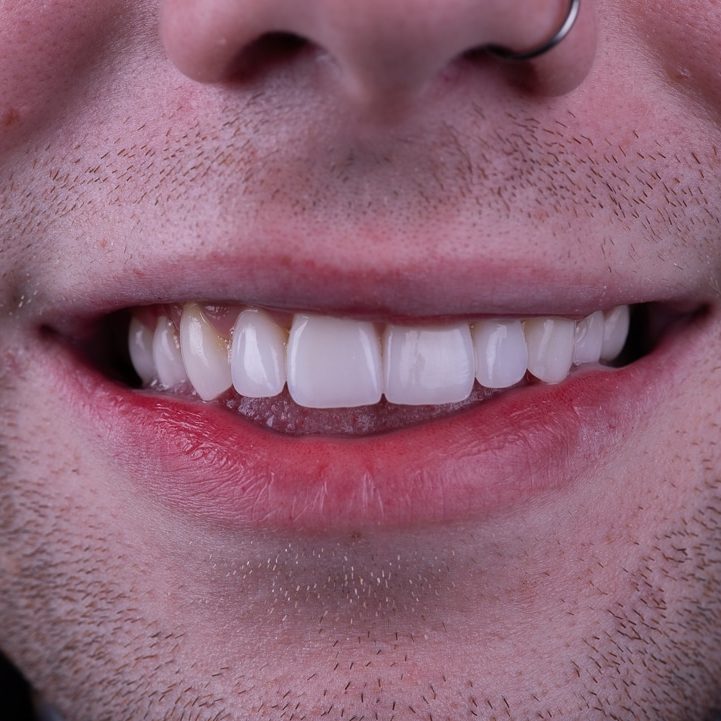
Overview of Case : The patient in this case wanted to improve the color of his teeth and close gaps between them. A mock-up was created to determine the feasibility of achieving the desired aesthetic result with veneers. The design required a "gum lift" on the left side, and a guide was used to replicate the design from the mock-up. The teeth were then minimally prepared for veneers to avoid a bulky, artificial appearance. Temporary veneers were placed immediately after the gum lift, and the final veneers were bonded in pairs for the best results. The final veneers resulted in a harmonious smile with an excellent aesthetic outcome.
Step 1
Primary Concern

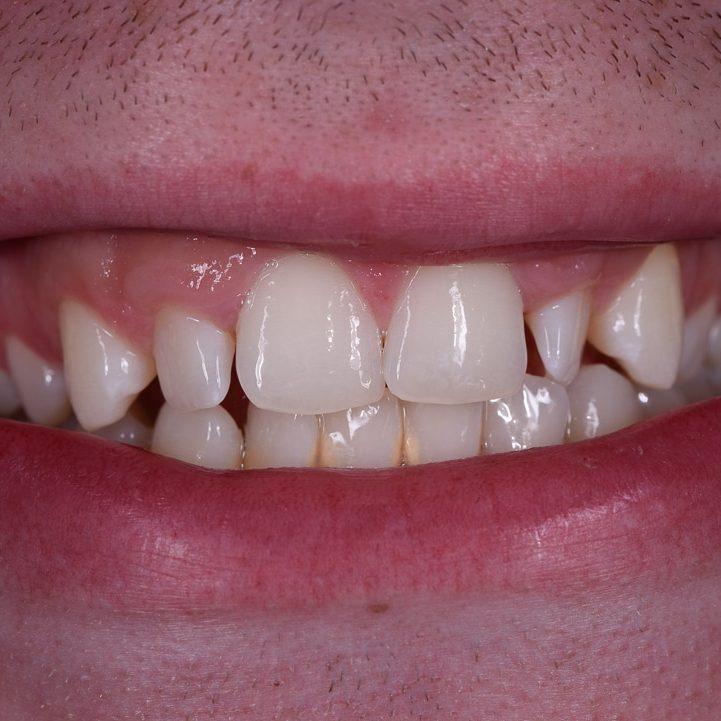
This patient wanted to close spaces and improve the color of his teeth.

2

Step 2
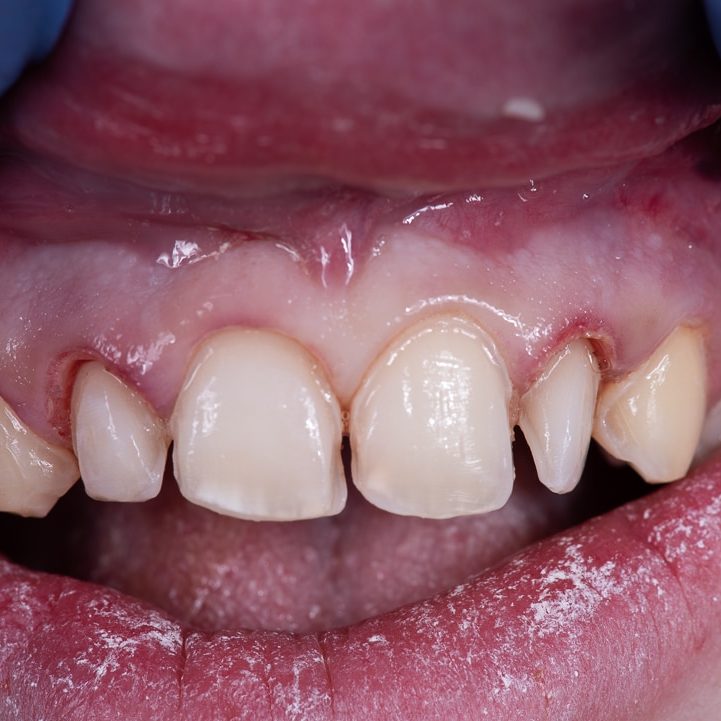
Analysis

Visible in this picture are the spaces between teeth, variable color, and cant of the teeth.

3

Step 3
Treatment Plan

As always, we designed a mock-up first to determine if we liked what result could be achievable with veneers.

Your smile is a reflection of your personality. Call capital dental design Today.

804.320.8894

Step 4
Mock Up

The mock-up confirmed the proposal gave us an excellent esthetic result.

Step 5
Gum Lift

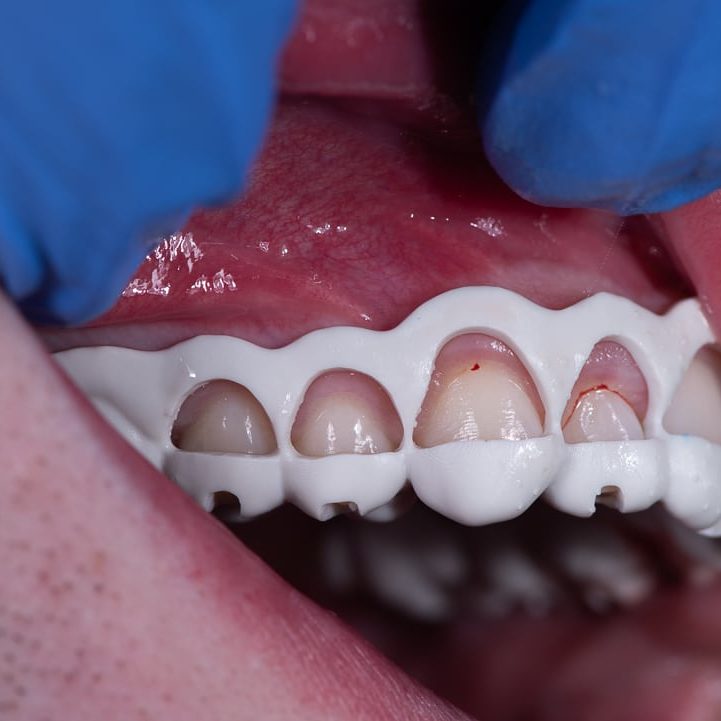
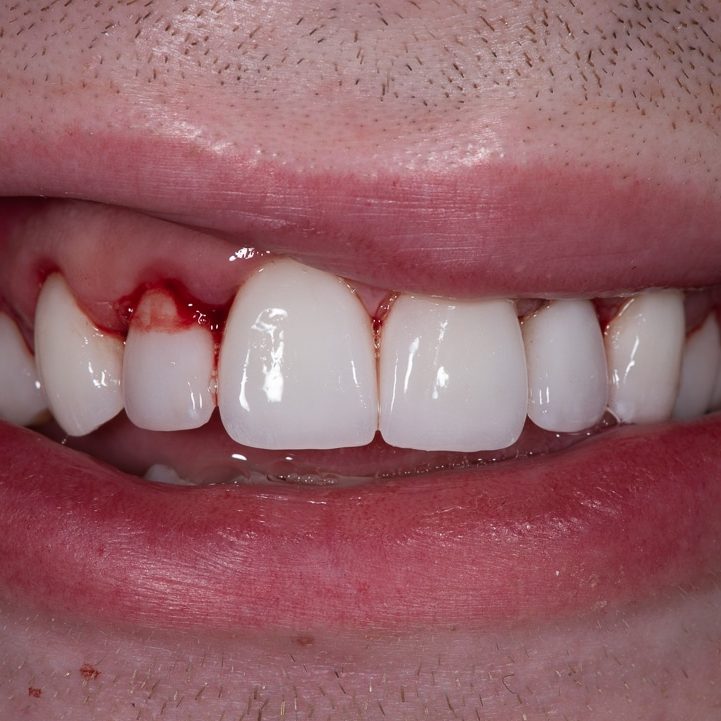
Our design required a “gum lift” on the patient’s left side. A guide based on our design was used to exactly replicate our design from the mock-up in our final result.

Step 6
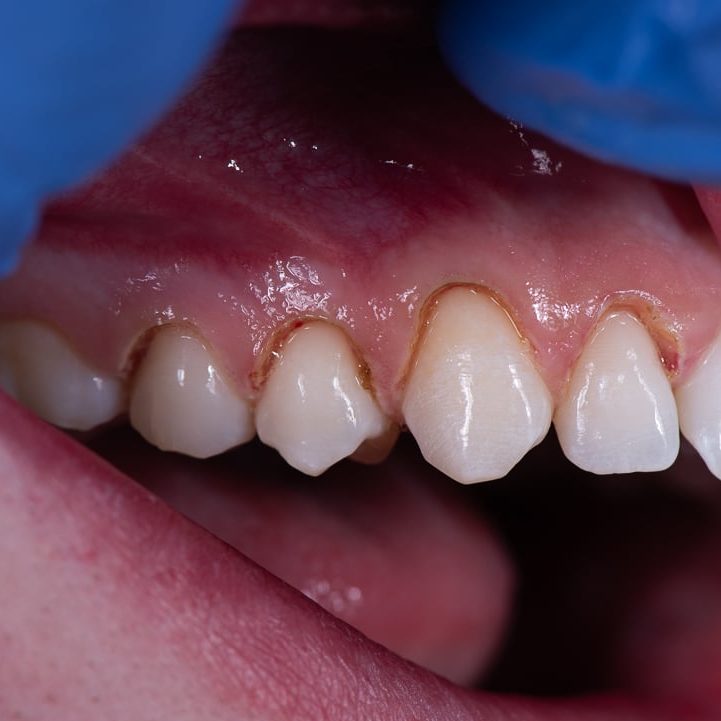
Veneer Prep

After the initial gum lift we are able to prepare the teeth for minimally invasive veneers.

Step 7
Natural Guide

Again, using the initial design as a guide, we are able to clearly show where minimal reduction was needed to create natural veneers. This allows us to avoid a common veneer problem which are veneers that are too “bulky” and artificial looking.

Step 8
Prepped Teeth

This is what teeth that are minimally prepared for veneers look like.

Step 9
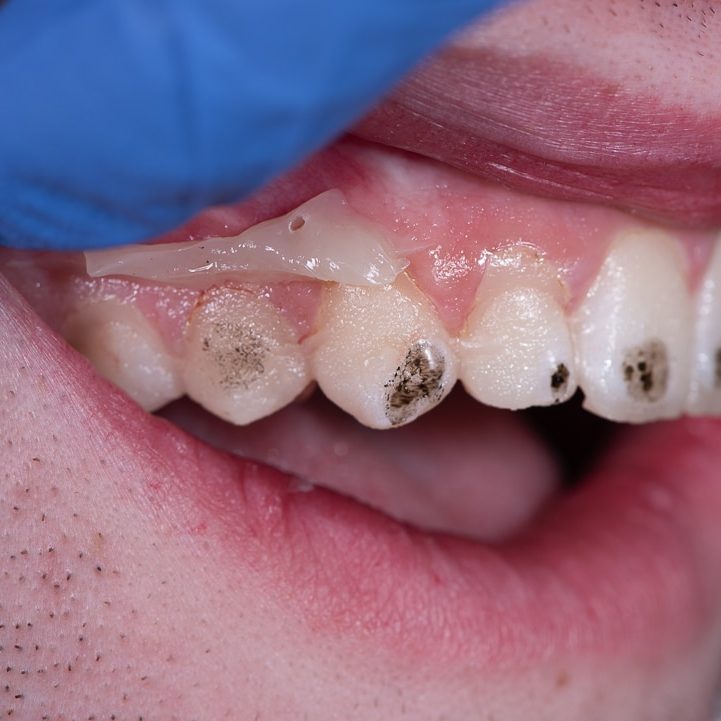
Temp Veneers

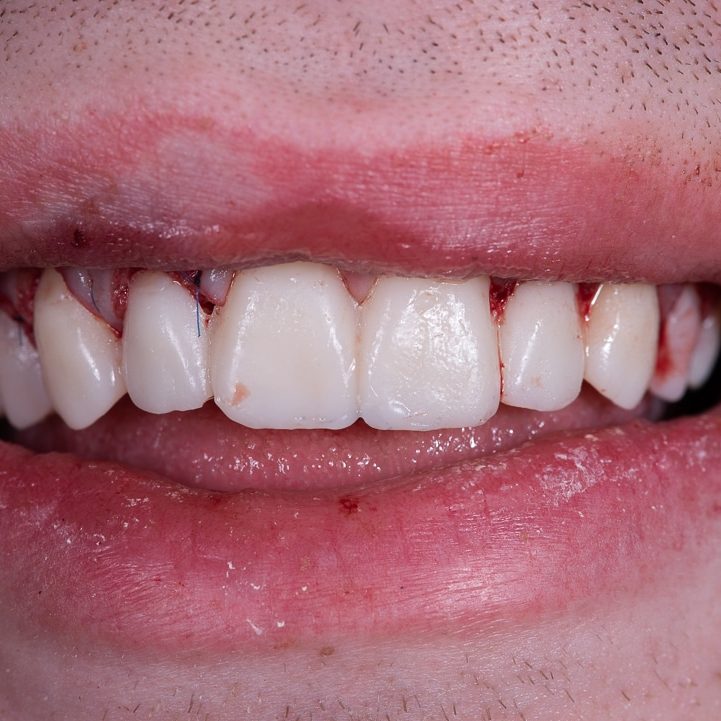
These are the temporary veneers, based on our initial design, immediately after the final step of the gum lift. The minimal bleeding resolves immediately after the procedure.

Step 10
Bonded in Place

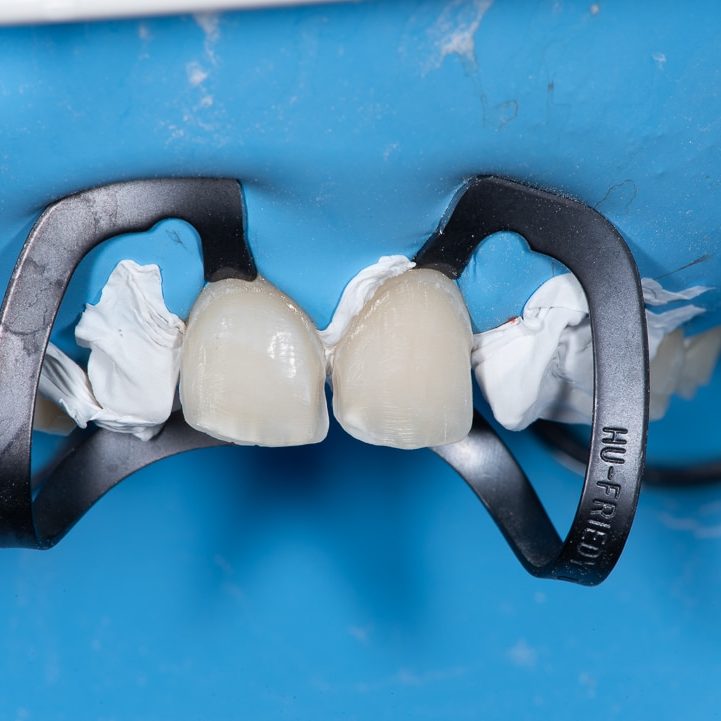
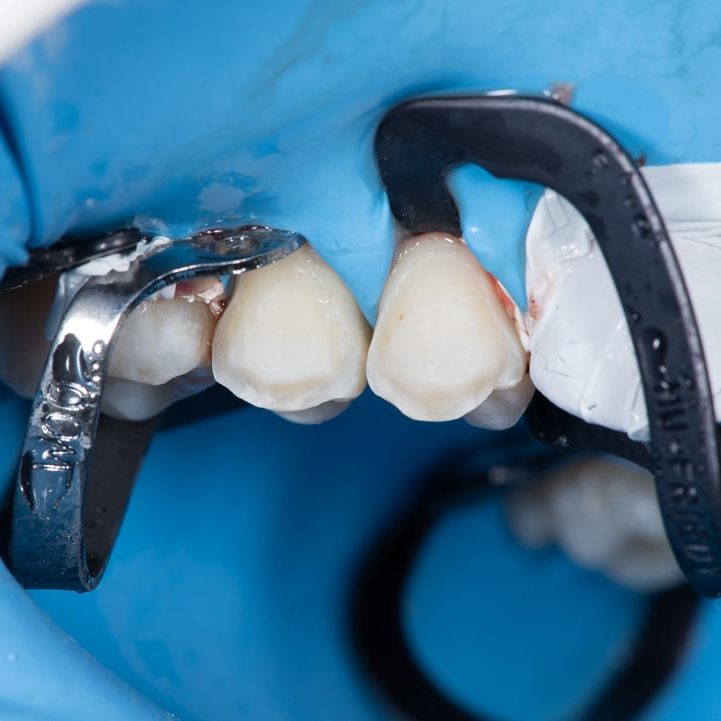
The day the veneers are bonded in place, total isolation of the teeth during the bonding procedure ensures the longest lasting, best looking veneers possible.

Step 11
Bonded in Pairs

All veneers are bonded in pairs, and while more time intensive, results in a better bond.

Step 12
Final Veneers

The final veneers after delivery show a harmonious smile with an excellent esthetic result.

Step 12
Final Veneers

The final veneers after delivery show a harmonious smile with an excellent esthetic result.

Step 12
Final Veneers

The final veneers after delivery show a harmonious smile with an excellent esthetic result.

Step 12
Final Veneers

The final veneers after delivery show a harmonious smile with an excellent esthetic result.